Search Results:
Follow these steps:
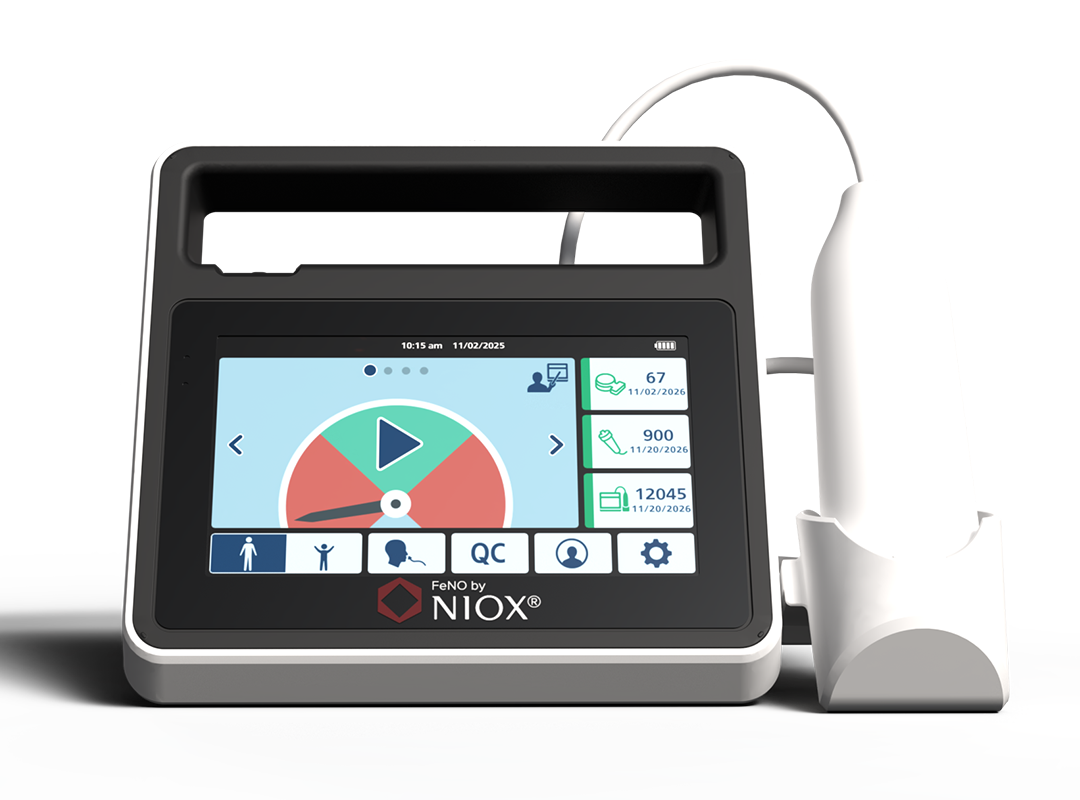
NIOX VERO® is a small, portable device, designed with both healthcare professionals and patients in mind. Set-up is simple so you’ll be testing FeNO in no time. You can watch the set-up video below or scroll down further for written instructions.
Step one: Setting up the device
- Open the package with care and check you have all parts. Part checklist:
- Remove the plastic film from the display.
- Place the device with the display facing down on a flat, clean surface.
- Unscrew and remove the compartment lid. There is a taper on the side of the lid for better grip.
- Open the sensor can. Take care – the inside of the opening may have sharp edges.
-
Remove the sensor and open the packaging. Do not touch or clean the white sensor membrane.
Note: The sensor should be stored in its original unopened packaging or installed in a NIOX VERO® device. -
Insert the sensor and turn the orange swivel clockwise until locked. You’ll know it is locked when the triangles on the black chassis and orange swivel are pointing at each other.
Note: After inserting a new sensor, it is recommended to wait for three hours with the device switched on before performing a measurement. -
Open the battery package.
Note: In some countries, the battery may be pre-installed. If that is the case, go directly to step 10.
Note: Use only the correct rechargeable battery supplied by NIOX® (type BJ-G510039AA, article no. 12-1150). - Insert the rechargeable battery and replace the lid. Tighten the screw with a screwdriver.
- Take the breathing handle tube and push the end of the tube slowly into the breathing handle port until the triangle is no longer visible. The breathing handle and the patient filter are applied parts Type B. Take care not to bend the breathing handle tube.
-
Attach the power adaptor to the device and then to a power outlet. When installing the unit, use either a socket outlet with an easily accessible power switch or connect the AC cord plug to an easily accessible socket near the device. If a fault should occur during operation of the unit, disconnect the device from the power.
Note: Only use the power adaptor supplied by NIOX® with the device. Article no. 12-1120. - Position the device with the kickstand folded out to prevent any obstructions to the rear vents of the device. Obstructing these vents will cause the device to display an alert.
- Start the NIOX VERO® by sliding the ON/OFF switch to ON. Allow the device to start up and perform the internal check and measurement procedures.
Completed this step?
Step Two: Setting the time and date
- Select Settings from the main menu

- Select Time and Date
 to open the time and date view.
 - Select the 12h or 24h display.
- Press the Hour button. It will change colour to blue. Set the current hour by simultaneously pressing the increase or decrease buttons.
- Repeat for minute, month, year and day.
- Select OK to accept the changes and return to the main menu.
- The Undo button closes the view without saving any changes.
Completed this step?
Step Three: Adding the breathing handle
- Select the Settings button on the main menu .
- Select the Breathing Handle button
 to open the breathing handle view.
 - Select Reset Breathing Handle. The breathing handle information view opens to confirm insertion of the breathing handle.
- Press OK to confirm the insertion of a new breathing handle. This sets the remaining measurements to 1,000 and the expiry date 12 months from the current date.
- The Return button returns to the settings view without registering the change.
Completed this step?
Contact NIOX® Customer Services
Submit your details so that we can help you.
Support Checklist:
You've completed all the steps!

Track your progress.
Assembling the device.
Setting the date and time.
The Breathing Handle.


* NIOX®. Data on File; MKT-DOF-007. 2024.


